
After doing research for an HO-scale locomotive I am custom-building, I got bit by the logging railroad bug and so I figured I should document what I can of its construction and operation.
I will admit I relied on a pre-gen map seed for this, just so I can make sure I get all the forestry I want.
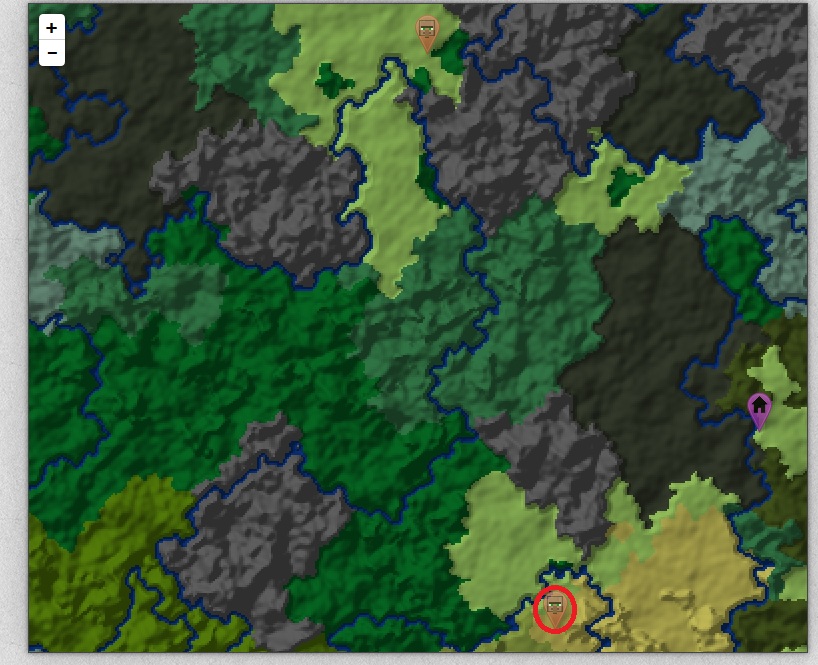 So this is what I chose. I’ll be working from the south village, circled in red, and using that as my base of operations. For the purposes of this demo, we’ll pretend the village to the north is another player. We’ll eventually want to build a rail line there to facilitate trade and transport, but the main focus of this is to dig into all that forested land for the lumber, and at the same time maybe tunnel the mountains for ores.
For overall construction, I’m relying on TrainCraft, Railcraft, and Immersive Engineering for its fancy appearance, although I do have other mods loaded too.
8/1/18
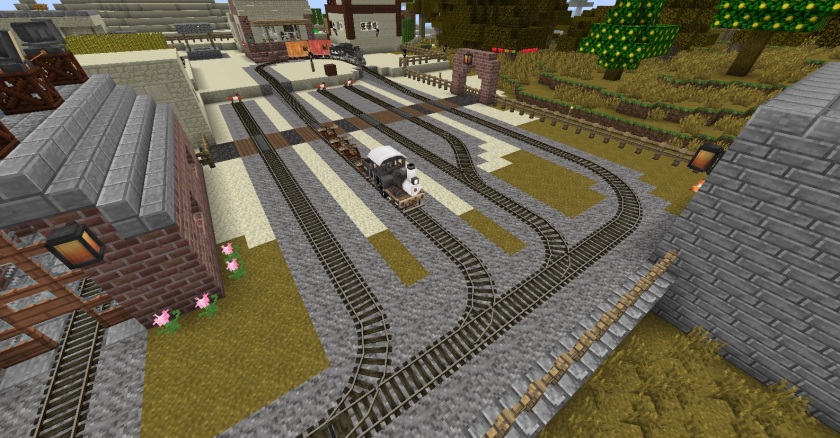
First steps are to fortify, light and otherwise make a home of this “meh”-tier village. There’s an IE house next to the TrainCraft station to make a decent home out of, and plenty of open space to start the railroad with. I don’t think I need to outline the beginning steps here, so I’ll update again when we actually get to the train-related fun stuff. At this point it would serve me well to be gathering sand and/or clay for building coke ovens as well as all the wood I can manage to gather.

8/2/18
I’ve hit the bottom of a ravine right under the village and have dug up a ton of coal, iron, gold and redstone. I’m now beginning the Immersive Engineering chain, and I’ve started on Traincraft with the making of its guidebook and some track. It’s been a while since I’ve actually played so my start on the tech trees has been kind of clumsy.

8/4/18
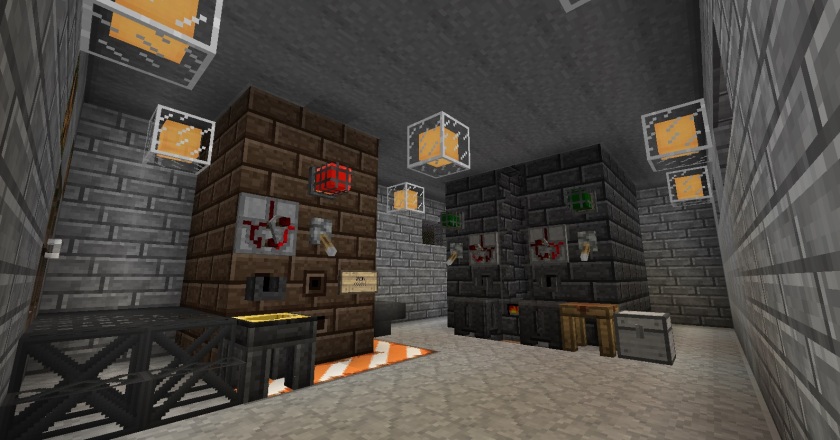
Metal processing and food production are up and running.

8/11/18
I’ve neglected to make any updates on progress, but I have been progressing. I am now pushing a rail line out of my base. I’ve recently acquired a historical book all about logging railroads in my home state, and I’m sure that will be a great inspiration for some logging aesthetic around base, the work area and the rail line. I’ve explored some of the mountains directly north of my base and scouted potential spots to (realistically and logically) run a rail line through.

8/20/18
Okay, I’ve finally got the home base at full production for railroading and the tracks are going down. In my experience a lot of people don’t really think about the “roadbed” part of track while they just nail the stuff down, so I’m going to explain a couple of my (simple) practices here that will keep you and your trains safe and keep your tracks looking fairly legit.
Flatter is better, for the most part. Your big heavy freight train will not like having to climb all sorts of hills and junk to get home again. Unnecessary slopes are a waste of fuel and will slow down your train, putting you and it in danger to attack.

Of course, sometimes there are holes, rivers, or cliffs to overcome. For stuff like this, you’re better off using cheap materials to bridge the gap. No reason to spend iron or steel on these little pits when logs, planks and TC bridge blocks will work just fine.
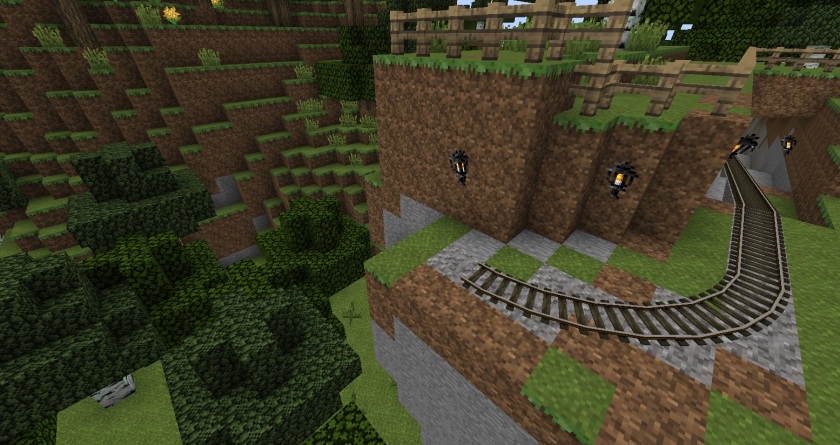
For this line I have to run up hill to get at this Birch forest. The terrain is fairly steep to use anything bigger than the steepest track slopes, so my hands are kind of tied here. Fortunately only empty trains will be climbing this hill.
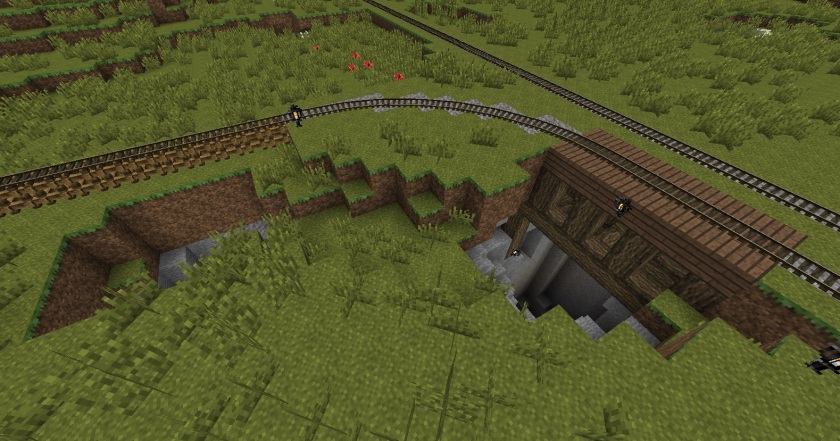
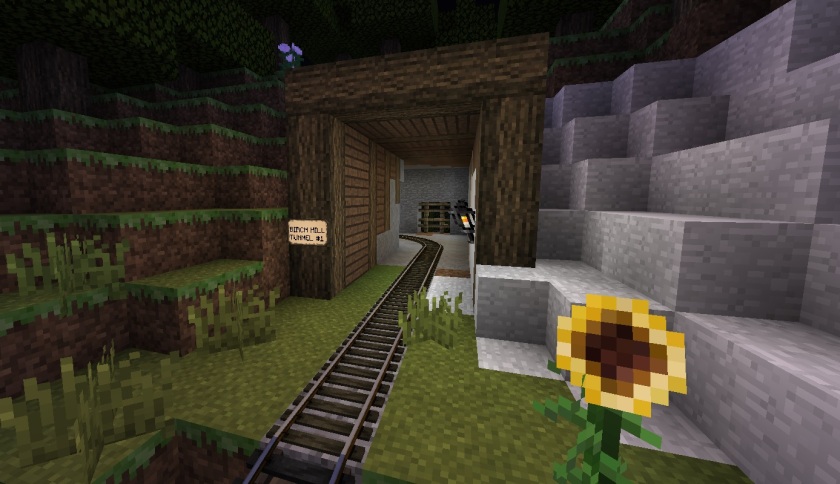
Part of that uphill climb is a tunnel. For TrainCraft tunnels, I advise a bore of 3 blocks wide by 4 blocks tall. This is so that when you are driving or riding through the tunnel you can actually see what’s up ahead or behind your train. Button it up with a decent tunnel portal and it will look pretty nice. Don’t forget to watch for ores along the way.
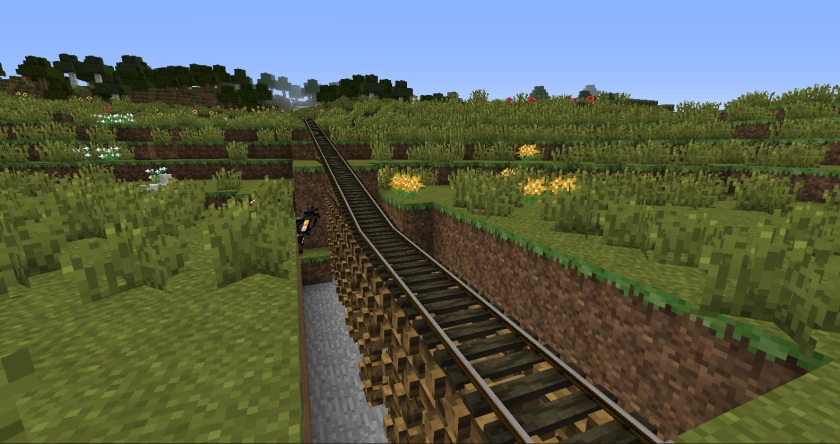
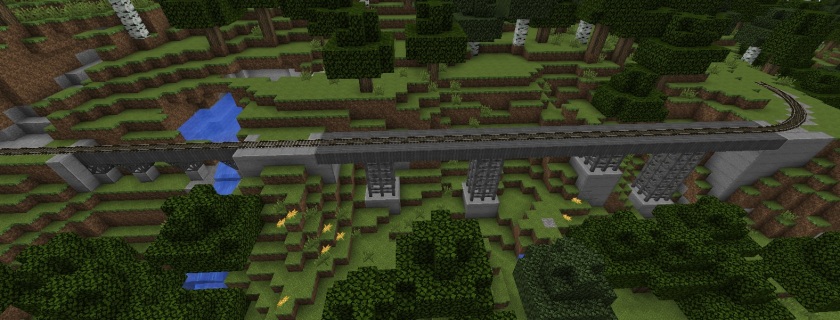
Earlier I advocated for simple materials to fix simple problems. This gap needs a bridge if we want to get to the top of the mountain. A bridge that looks more sturdy and serious is a fine fit for this job. Still no need to break into structural iron and steel, so we’ll use IE Treated wood. Conversely a trestle design could be made with oak logs and spruce planks.
Tried to get a ‘trestle’ bridge look.. not sure if I succeeded. They’re quite difficult to make in MineCraft, despite being the most common type of railroad bridge.

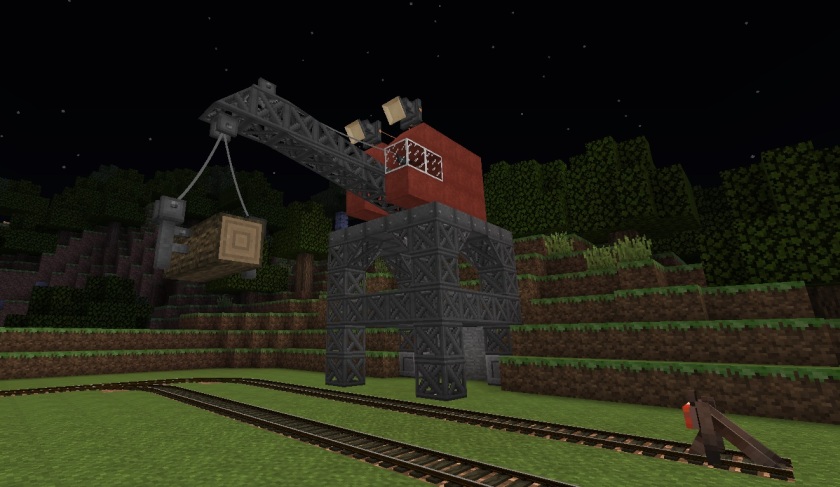
Another ascending tunnel later and we reach the summit of Birch Hill. For now I’m going to set up a basic, manual logging camp and leave room for later expansion. Next step will be to set up the log dump at home.

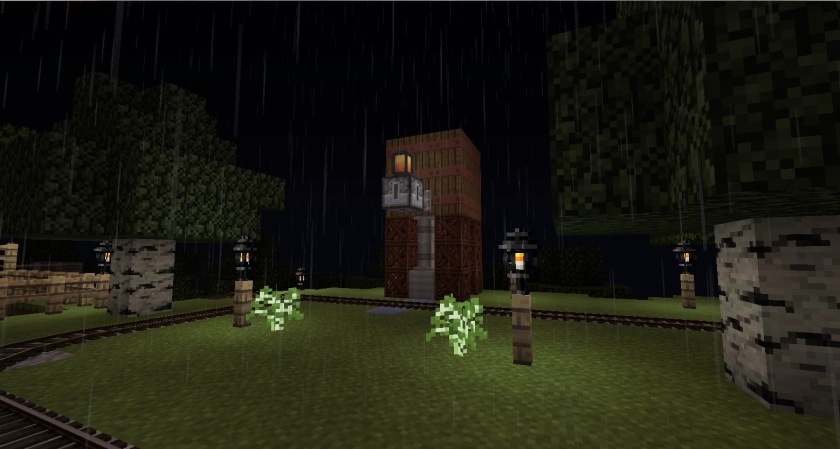
I almost forgot this myself, so here is your reminder to make sure to build some kind of watering facility for your steam trains at your logging camp. They will need it!
8/21/18
I’ve built a basic log dump next to the house. This setup uses a RailCraft unloader with BuildCraft item pipes that feed a Storage Drawer controller attached to six large drawers to hold the log blocks.
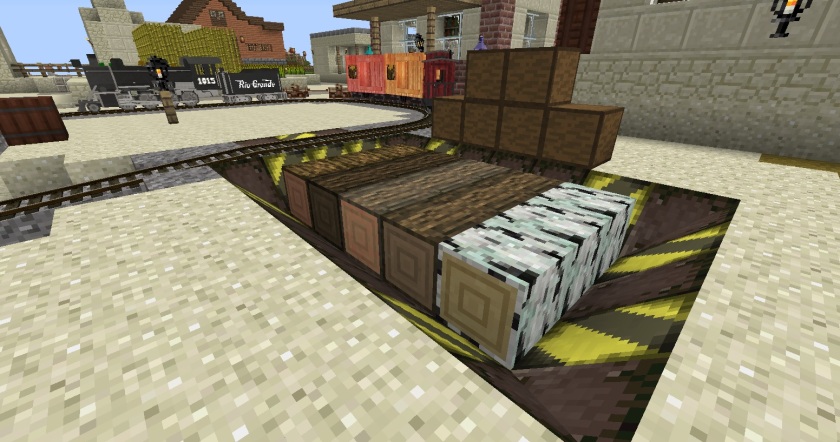
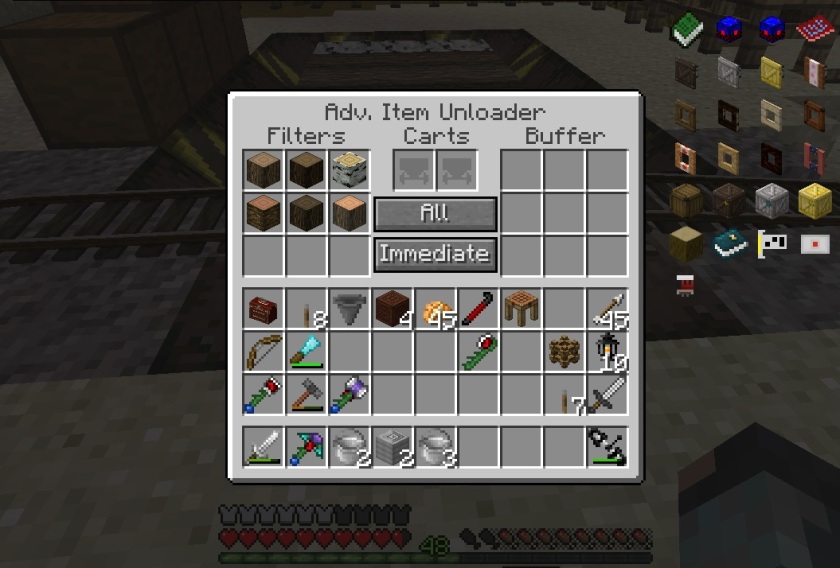
Later on I will expand the logging operations and replace this basic system with something a little bigger and more aesthetic.
1/21/2019
So it’s been a while! I’ve done a lot of things with Northbranch that I haven’t reported on yet. I’ve since built a neat foundry and a significant logging railroad extension. Once the logs are rolling, I’m going to build a mining extension.


Good to see a new post from you!
Well, new-ish…
I’d just like to thank you for a fantastic blog. I’m not a huge trains fan usually, but it fits perfectly as a realistic long-distance transport option in my modpack (and looks pretty good, to boot!)
So, anyways, looking forwards to seeing more stuff.
LikeLike